How to Build Gluten Strength for a Wild, Open-Crumb Sourdough
By Chef Helene Laurent • 24 Years Master Baker • Updated October 2026 • 9 min read
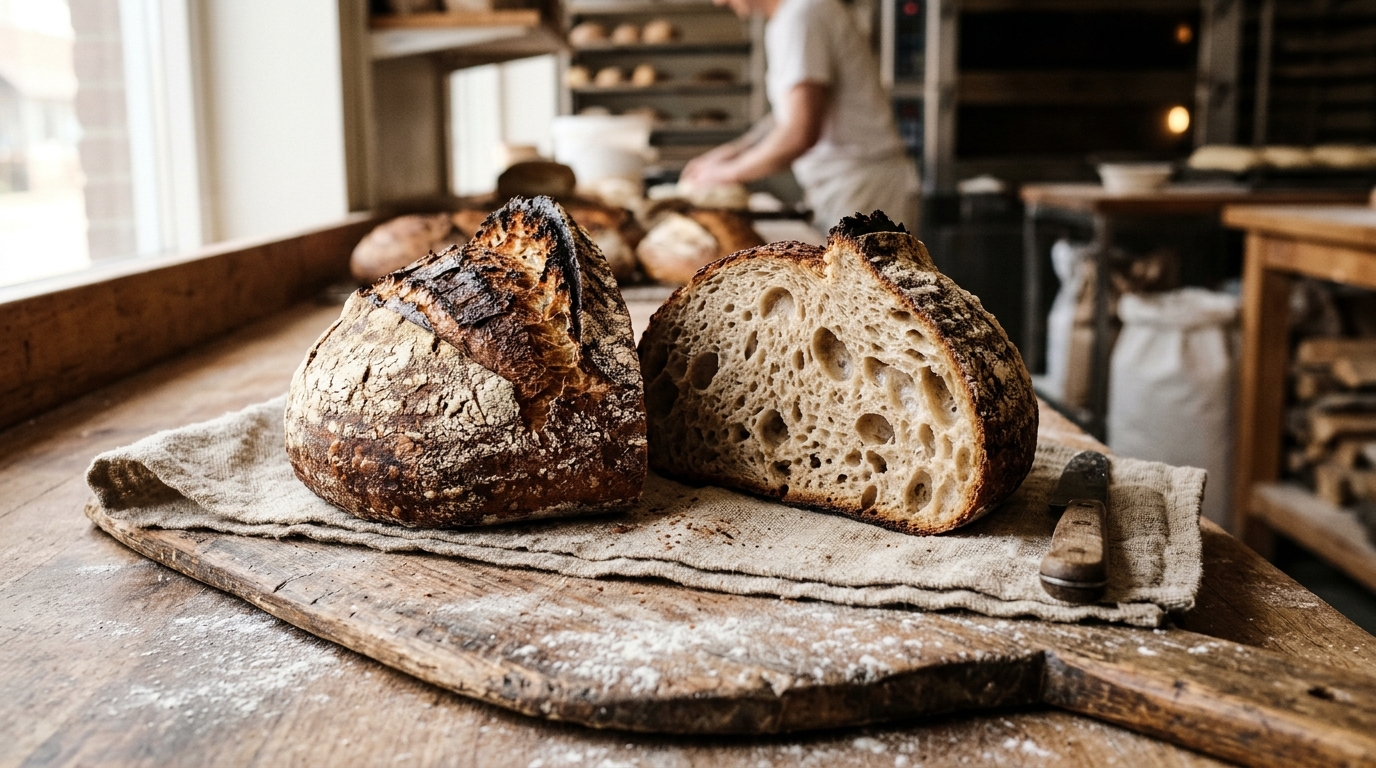
Few moments in craft cooking carry the quiet disappointment of slicing into a sourdough loaf after 36 patient hours of feeding, autolysing, and folding, only to discover a dense, gummy brick with cavernous fool's holes hugging the top crust and dense, uncooked dough at the base.
Commercial baking teaches home cooks to blame hydration percentages or flour brands. In reality, the architecture of wild open-crumb bread is governed by a single physiological imperative: progressive gluten tension developed in harmony with enzymatic acidification.
Phase 1: The Flour Autolyse & Enzymatic Alignment
Hydrating stone-milled flour with pure water 45 to 60 minutes prior to introducing your active wild starter activates endogenous proteases. The protein strands of gliadin and glutenin begin linking organically into elastic networks without interference from premature lactic acidity.
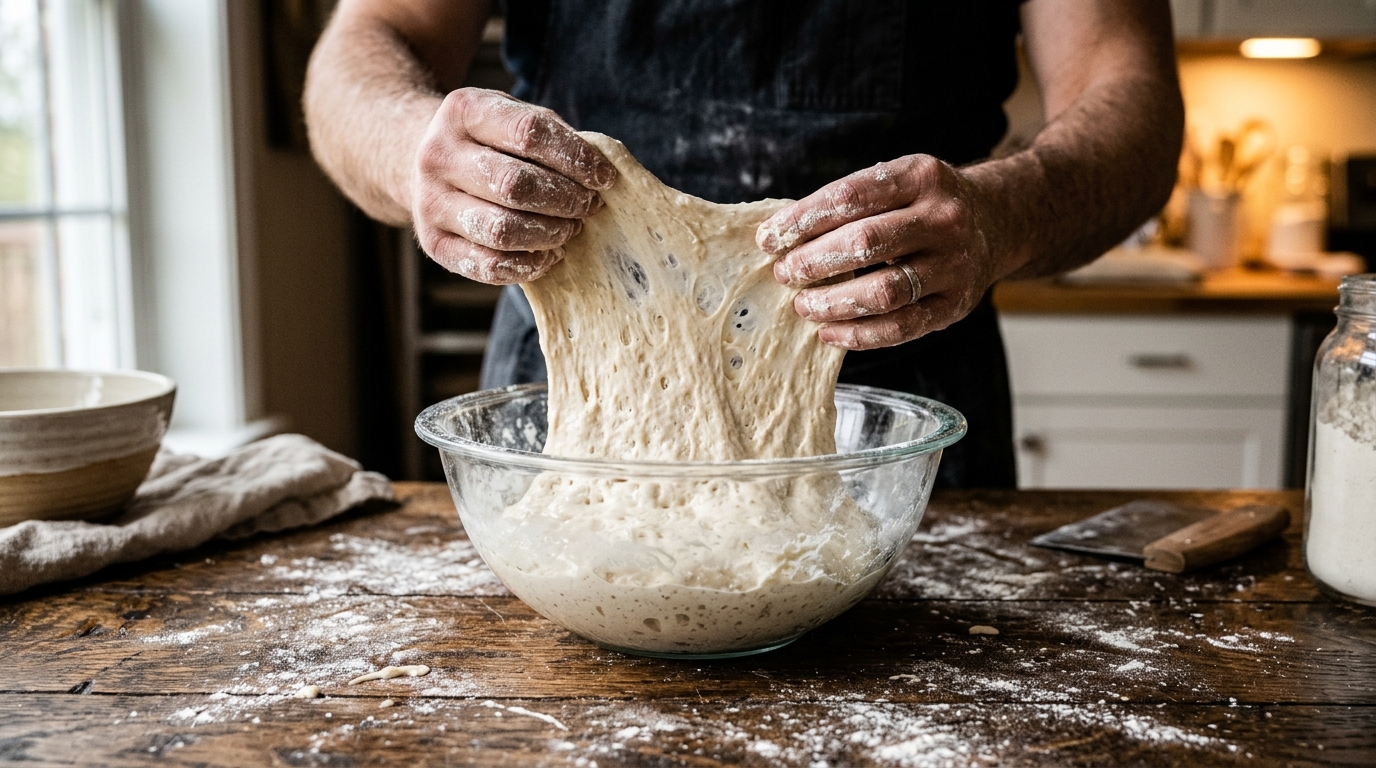
Phase 2: Temperature-Dependent Bulk Fermentation
Wild sourdough fermentation is fundamentally a thermal phenomenon. In a cool kitchen (68°F / 20°C), wild yeast reproduces at a leisurely cadence, requiring upwards of 8 hours to accumulate sufficient aeration. In a warm kitchen (78°F / 26°C), bacterial acidification accelerates rapidly, risking proteolytic breakdown of the dough if proofing exceeds 4 hours.
Baker's Fermentation Clock & Proofing Schedule
Calculate bulk fermentation windows, stretch intervals, and cold retardation based on your kitchen ambient temperature and levain dose.
Phase 3: Extended Cold Retardation (39°F / 4°C)
Transferring shaped dough in cane bannetons to cold retardation arrests yeast respiration while permitting cold-tolerant lactic acid bacteria to convert residual complex maltoses into aromatic organic acids. This extended chill is what yields the characteristic blistered crust and custardy crumb texture upon baking in a preheated cast iron Dutch oven.